Microsoft Authenticator Setup for M365
-
Instructions
Fortigate VPN / ZHB e-media Zoom WLAN Password reset Duo Mobile Ivanti (Pulse) Secure VPN / ZHB e-media Barracuda E-Mail Security Gateway Software Catalog SWITCH edu-ID Microsoft 365 (M365) Microsoft Authenticator Microsoft 365 (M365) - E-Mail Teams CampusCard Information for staff Information for students Altiris Client Management (University internal) Digital ID Card Print, copy, scan
- Help, Tips & Tricks
Personal passwords captured by a phishing attack, as well as weak and reused personal passwords, are the most common cause of successful cyberattacks. To prevent this, the password can be additionally secured by using multi-factor authentication (MFA). This involves supplementing the password entered for identification with one or more independent factors, thus providing a high level of protection against unauthorized access to services, software and data.
The use of multi-factor authentication (MFA) has been required for an M365 account since March 2023. To use Microsoft Authenticator, you must install the Microsoft Authenticator app on your smartphone (iOS or Android), which you can find in the Apple App Store or Google Play Store.
The first time you sign in to M365 or sign in to M365 after March 1, 2023, you will see the Microsoft Authenticator Wizard so you can add multi-factor authentication (MFA) to your M365 account.
Quick guide
System requirements
- A smartphone with iOS ≥ 15 or Android ≥ 9 is required to install the Microsoft Authenticator. Ideally, these devices should still be provided with current security updates.
Install Microsoft Authenticator
You can find the Microsoft Authenticator  in the Apple App Store or Google Play Store.
Log in to M365
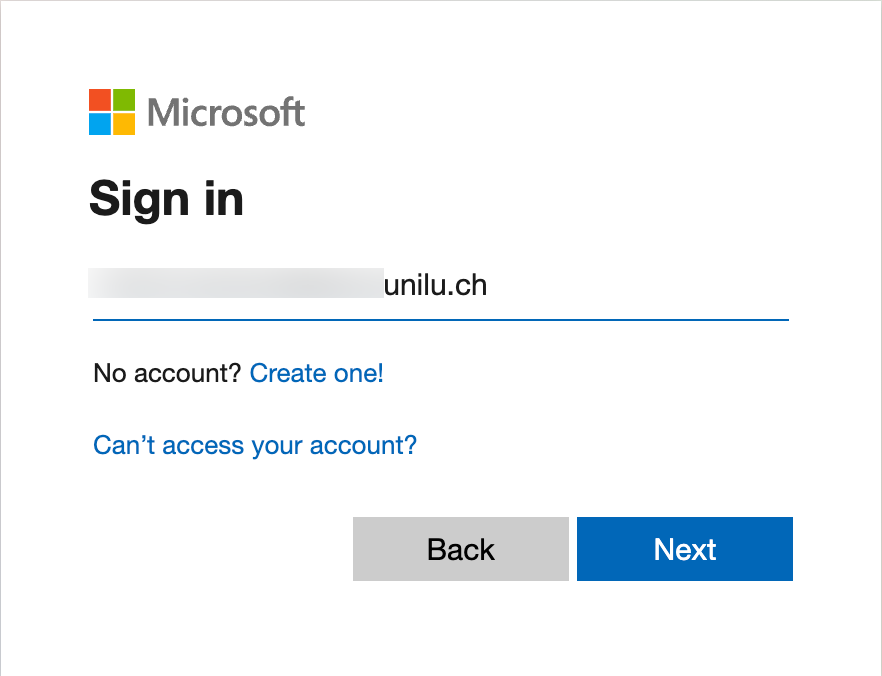
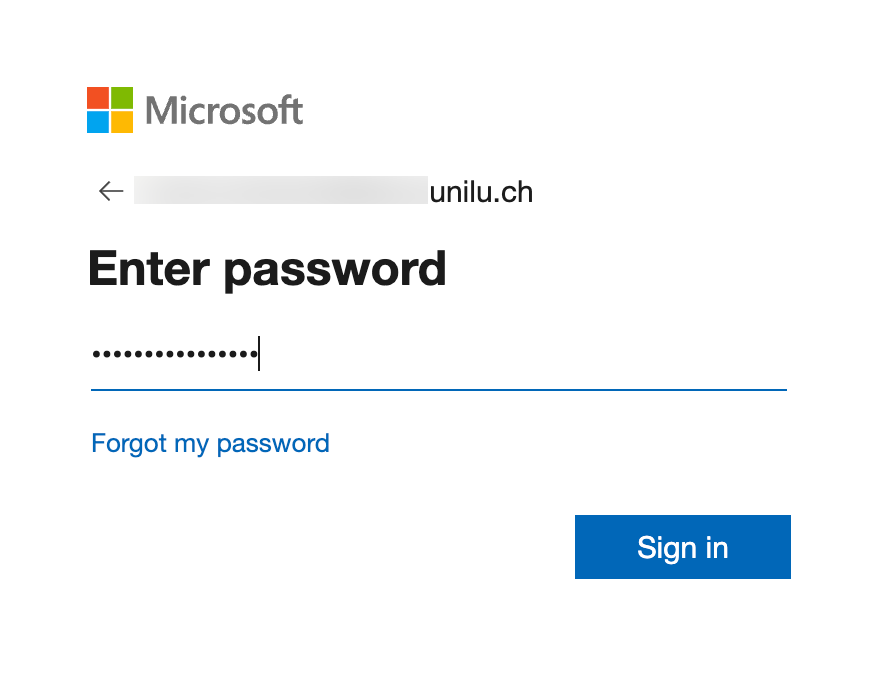
Go to https://login.microsoftonline.com and then log in with your official email address (@unilu.ch, @stud.unilu.ch, @doz.unilu.ch as well as @zhbluzern.ch) and the corresponding password of your UNET or StudNET account.
Delete
Set up Microsoft Authenticator
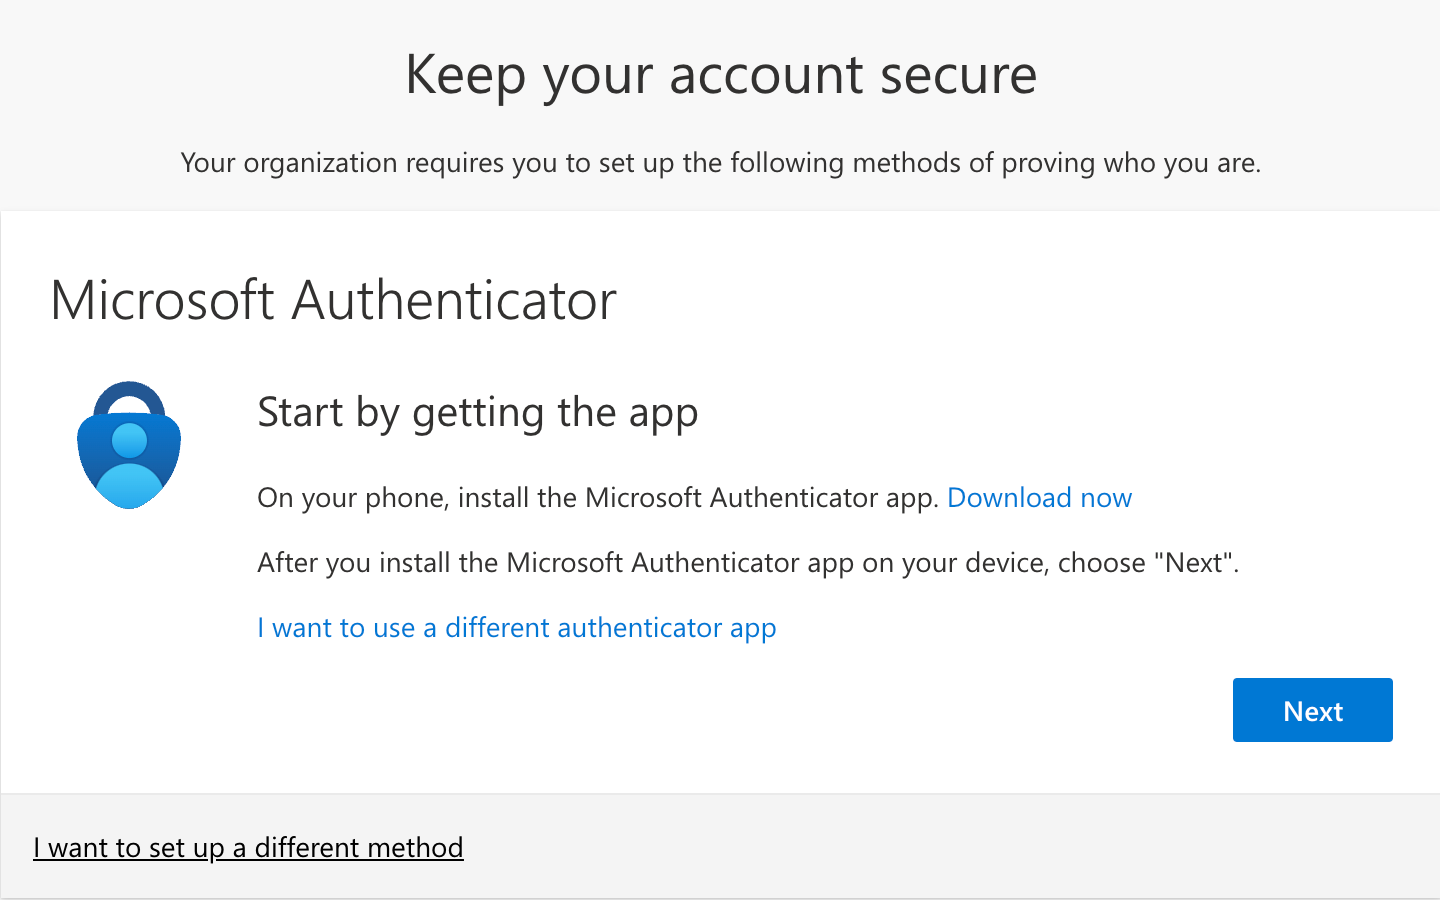
The first time you log in to the University of Lucerne M365 area, or if you have not yet set up Microsoft Authenticator (accounts created before March 1, 2023), you will see the Microsoft Authenticator Setup.
Step 1
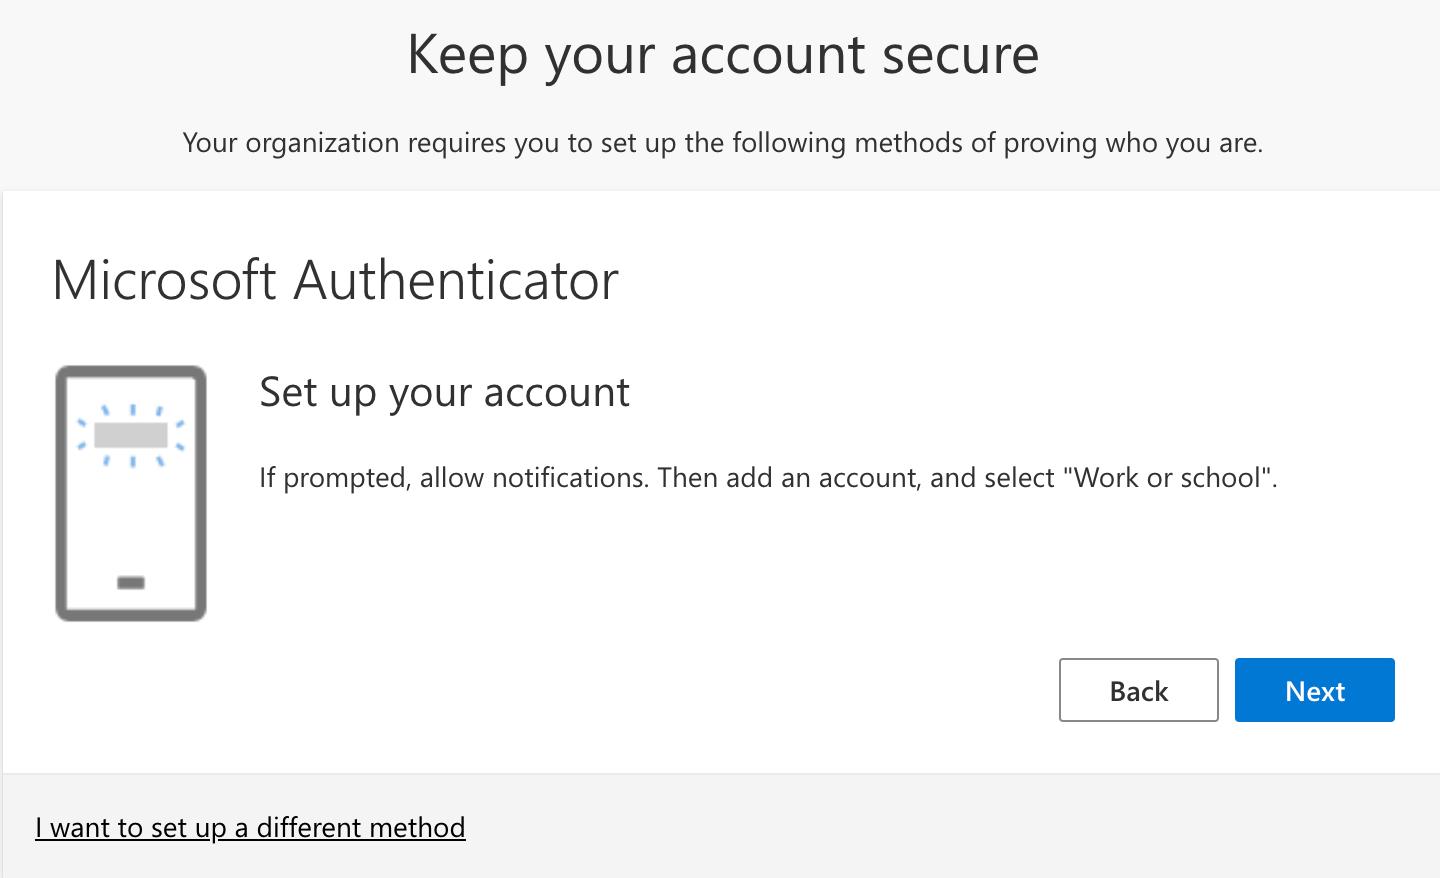
Step 2
Step 3
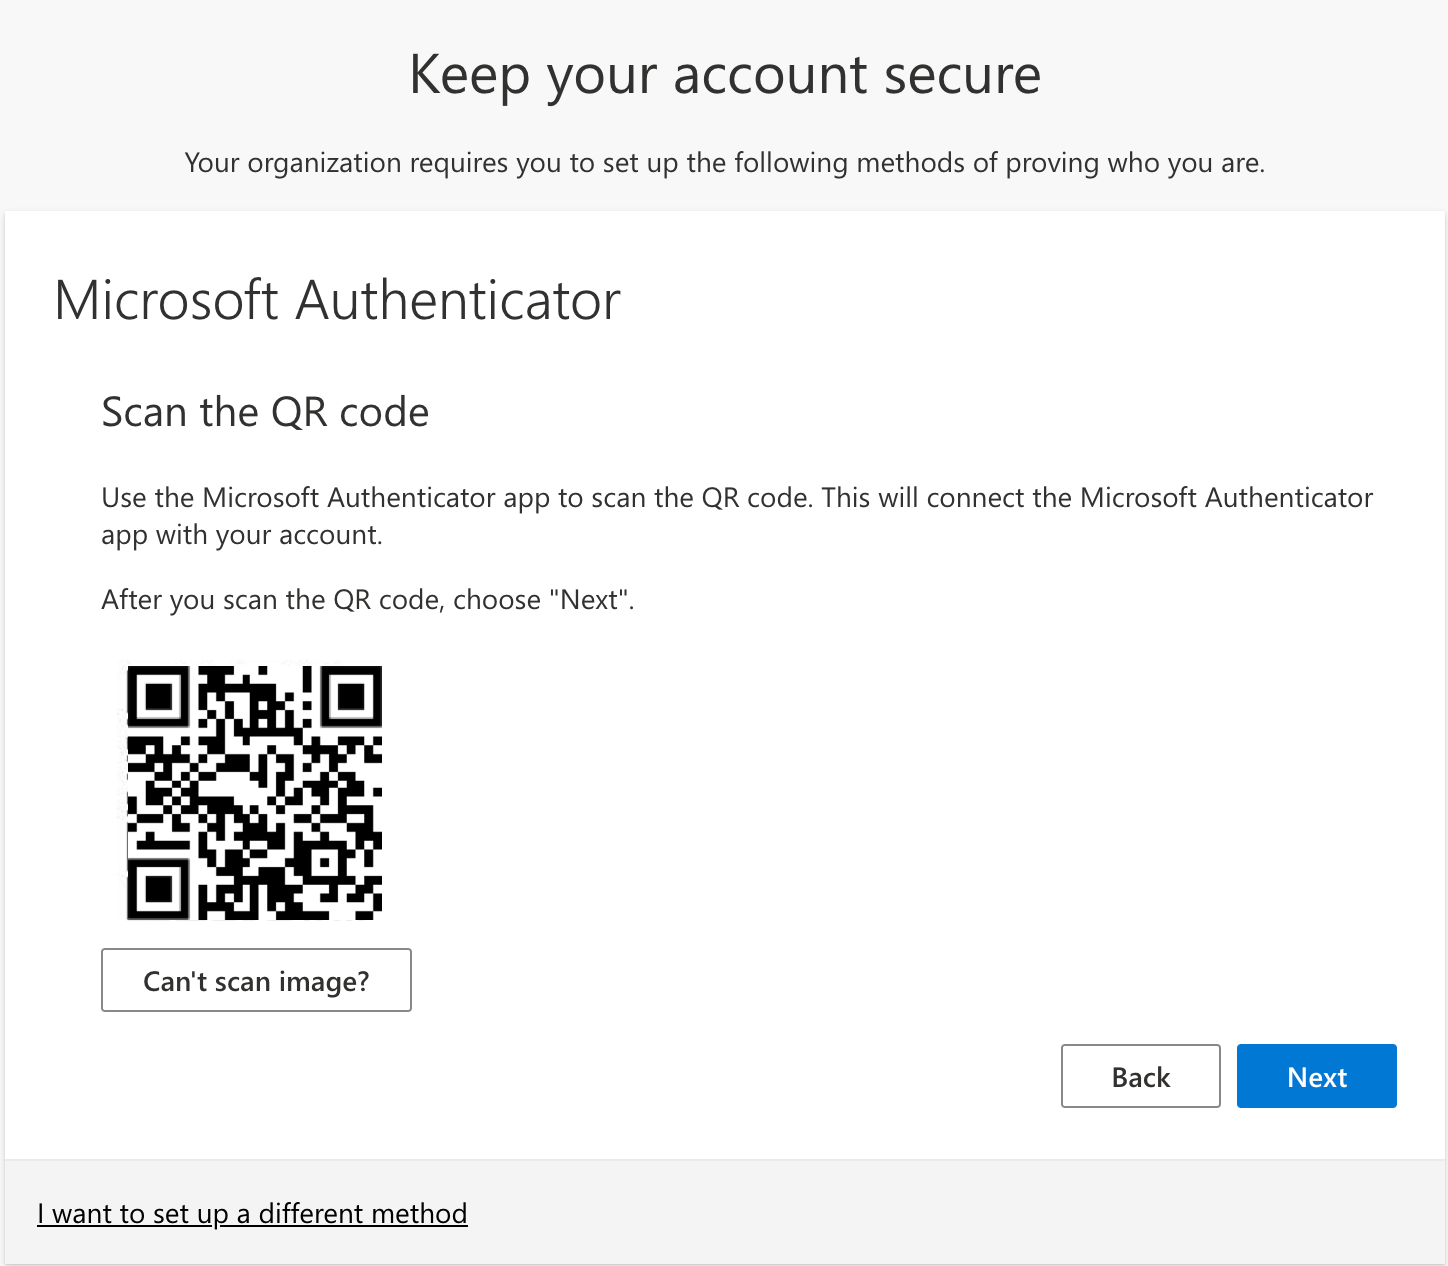
Before you click "Next", open Microsoft Authenticator on your smartphone and ...
- Click on the "+" sign

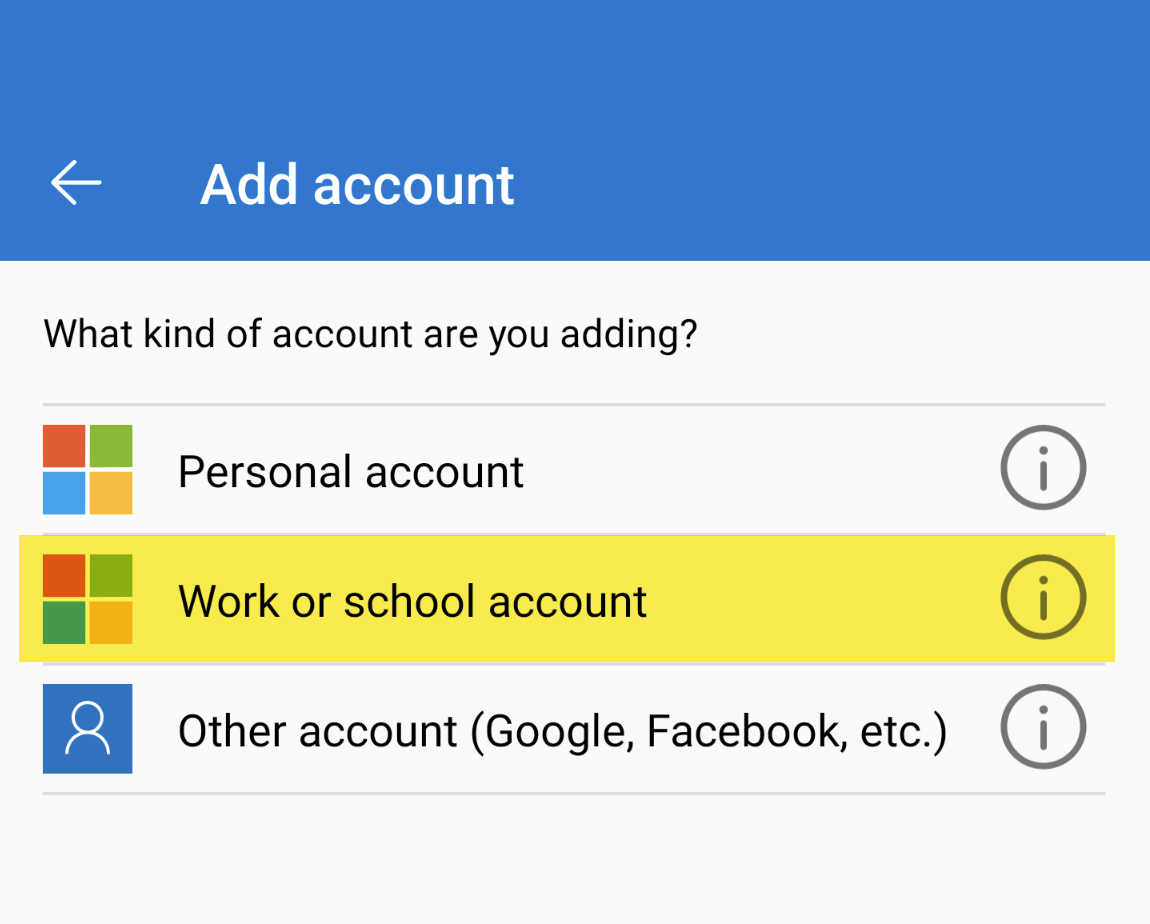
- Click on the "Work or school account" area
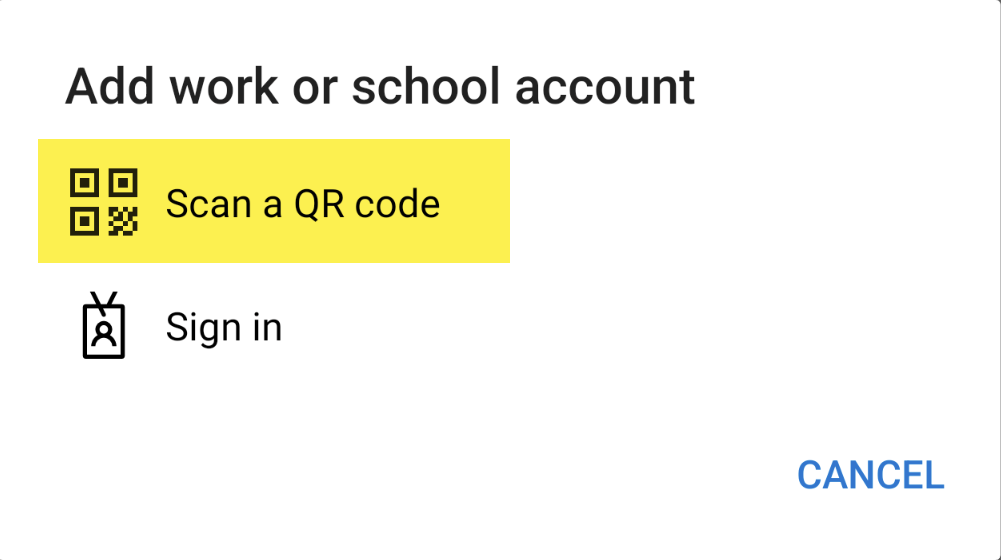
- Then click on "Scan a QR" code
And then scan the QR code that appeared at step 3.
Once you have scanned the QR code ...
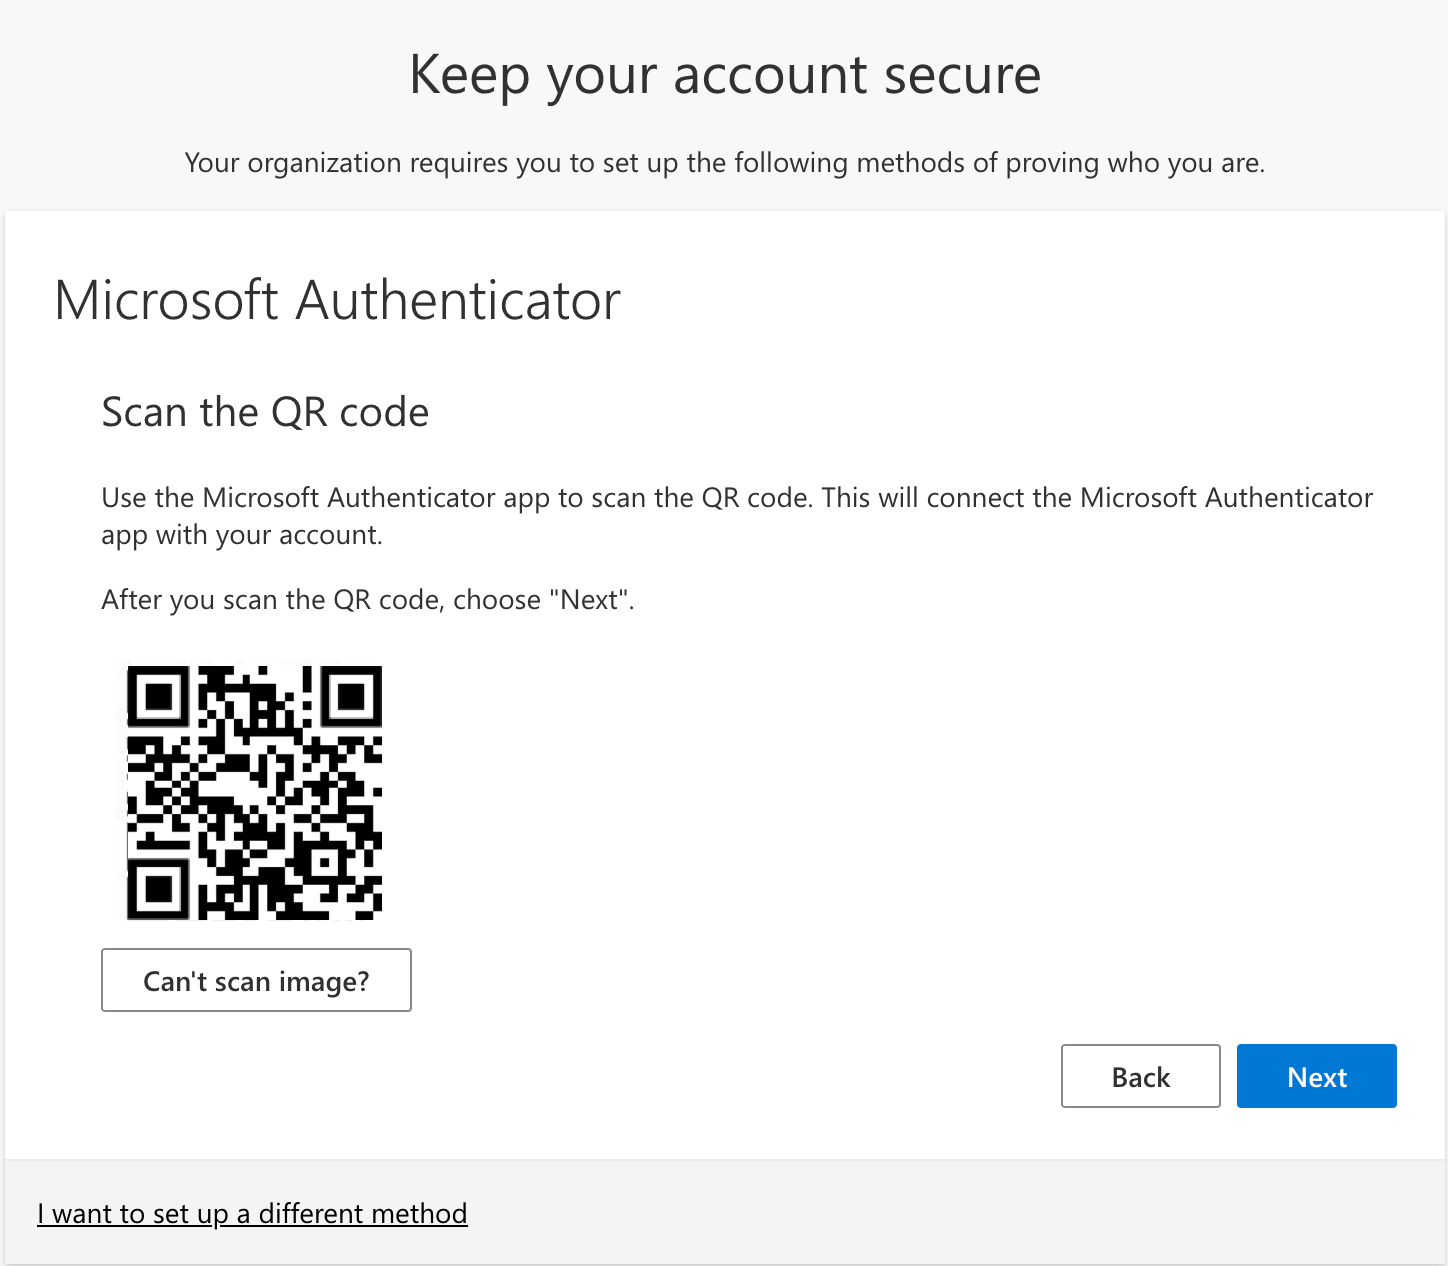
… click on "Next" to continue with the setup.
Step 4
Now follows a test in the use of the Microsoft Authenticator...
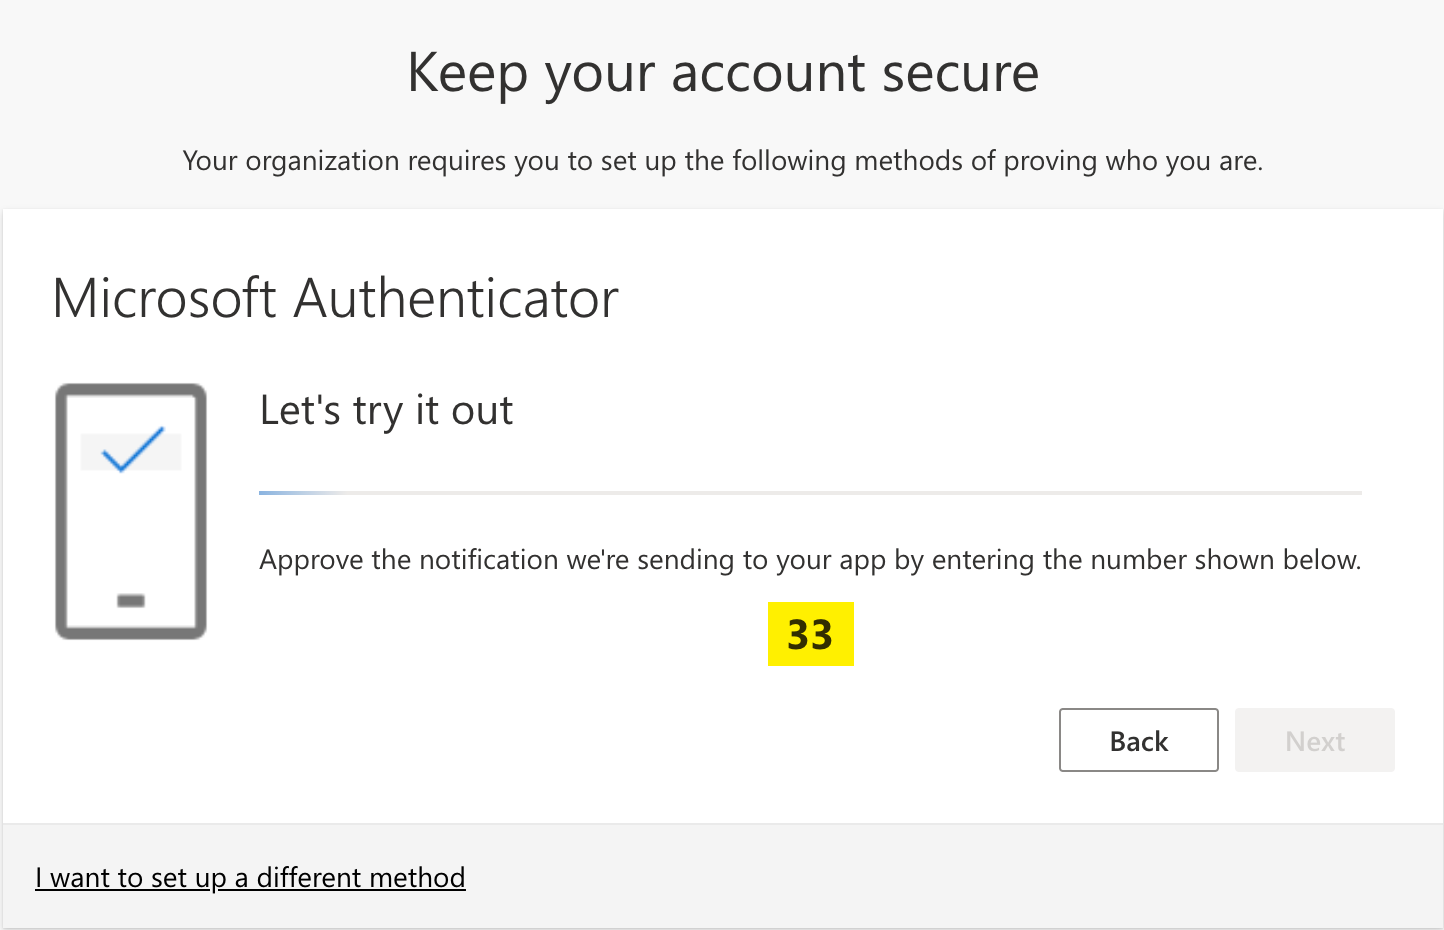
Type the displayed number on your smartphone into the Microsoft Authenticator. Please do not use the number from the instructions (unless the 33 is also displayed for you)!
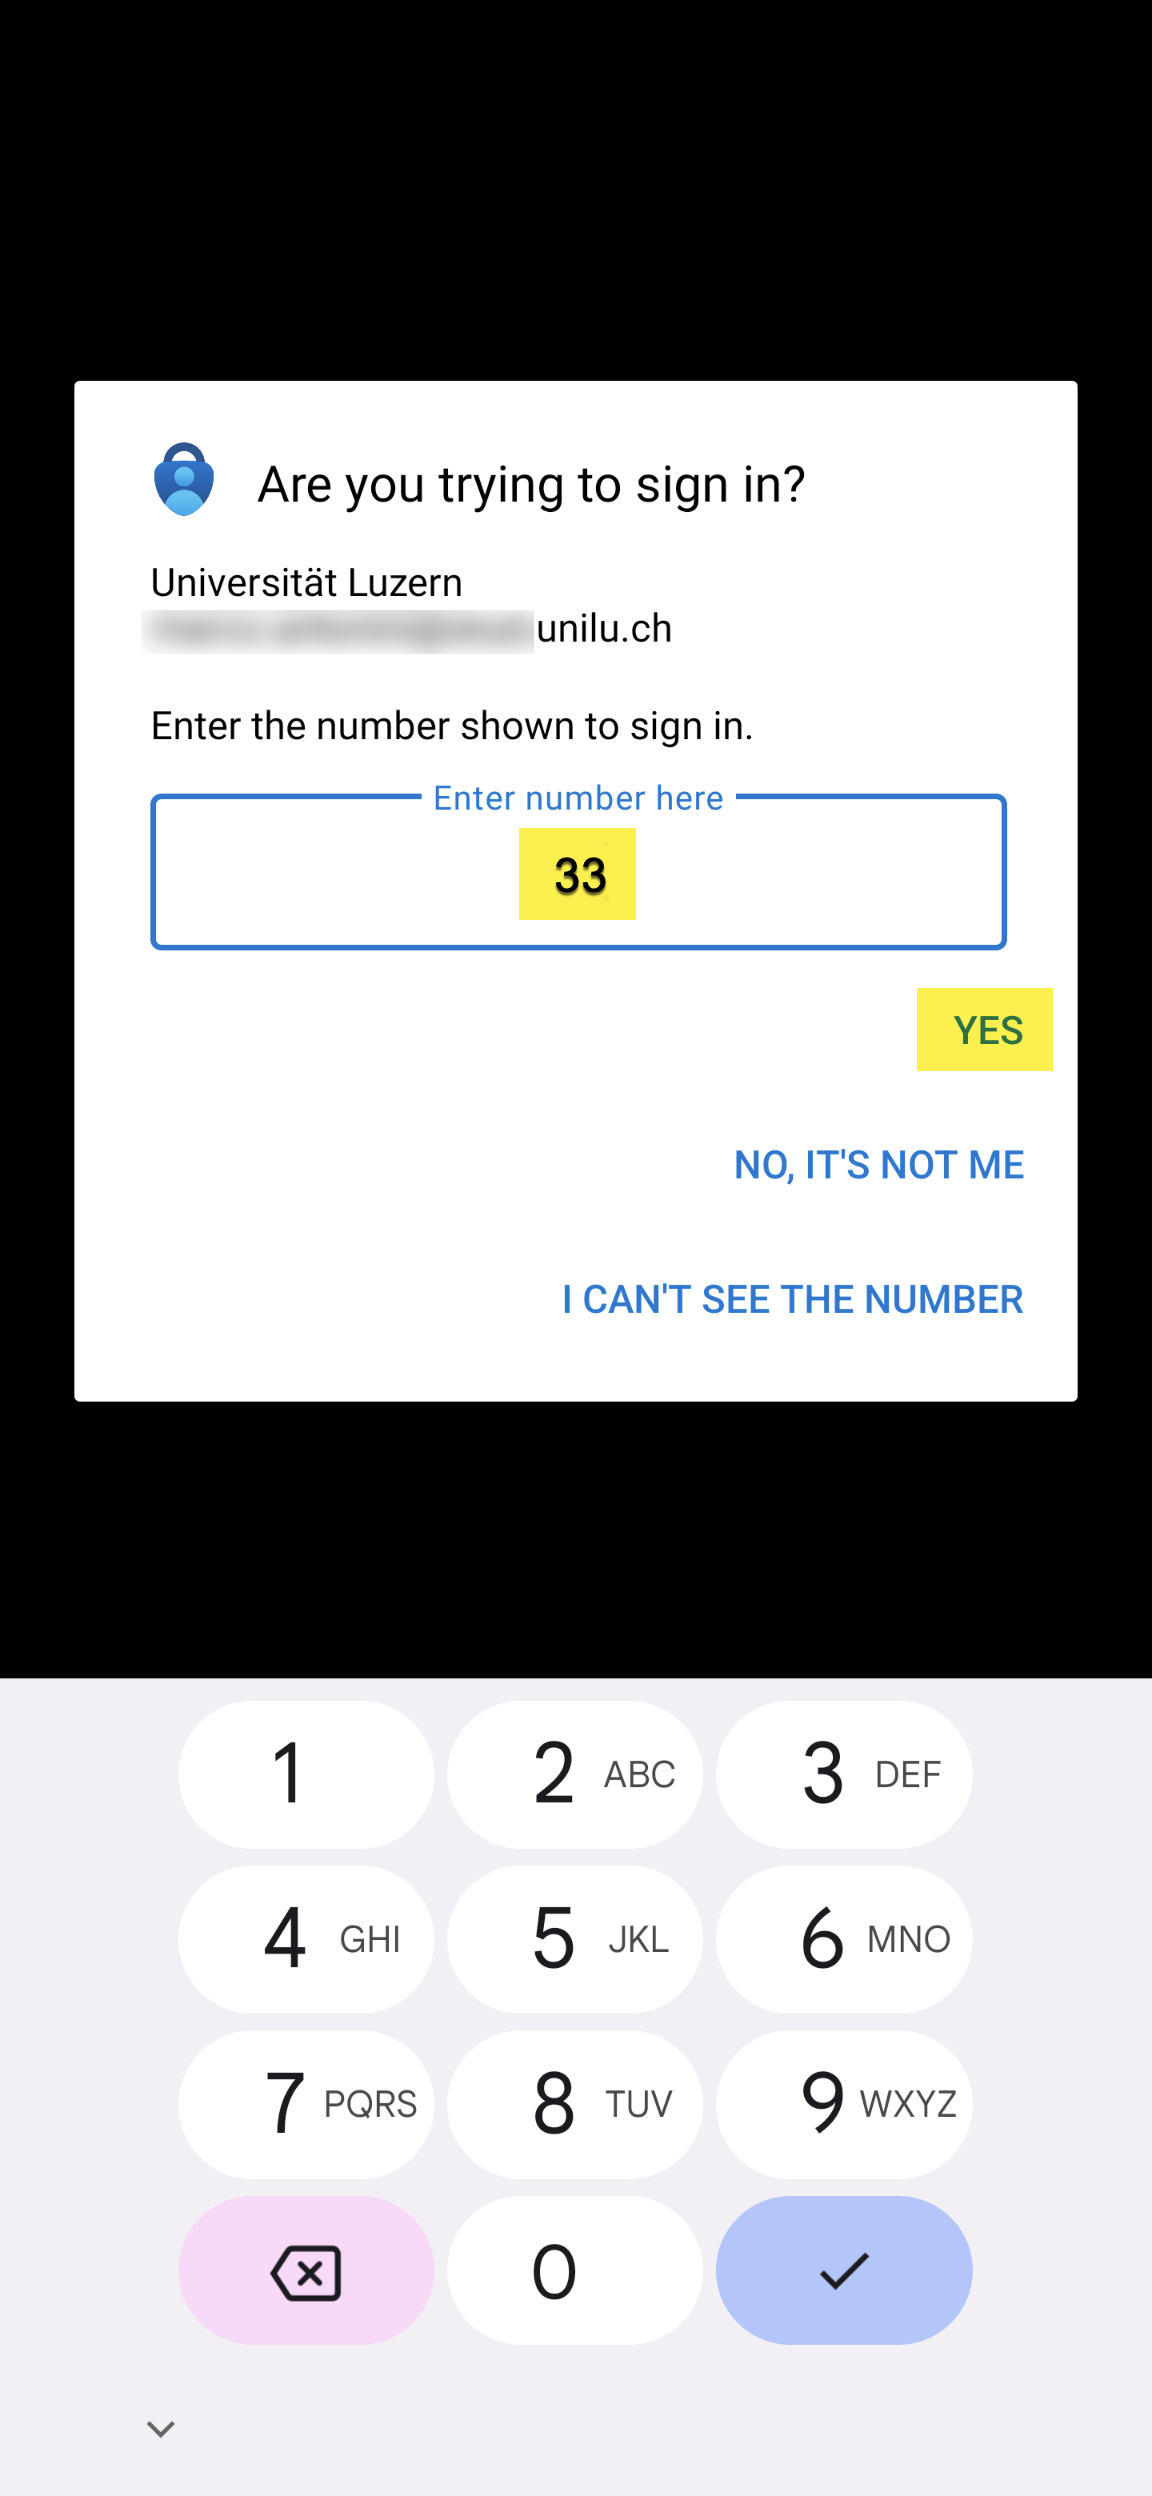
Then click on "YES".
Step 5
After entering the correct numbers, you will receive the message "Notification approved".
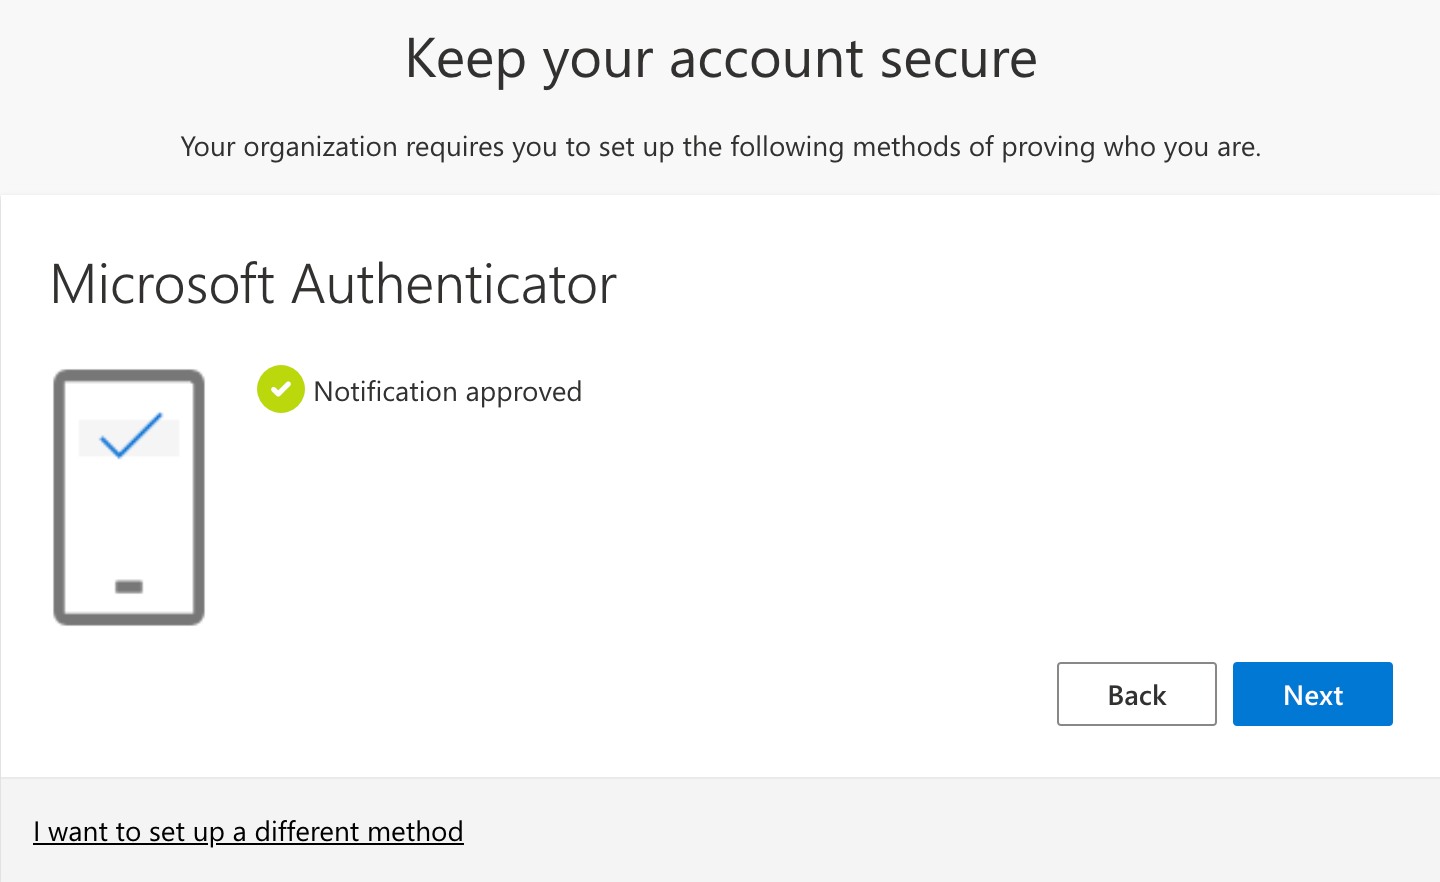
Step 6
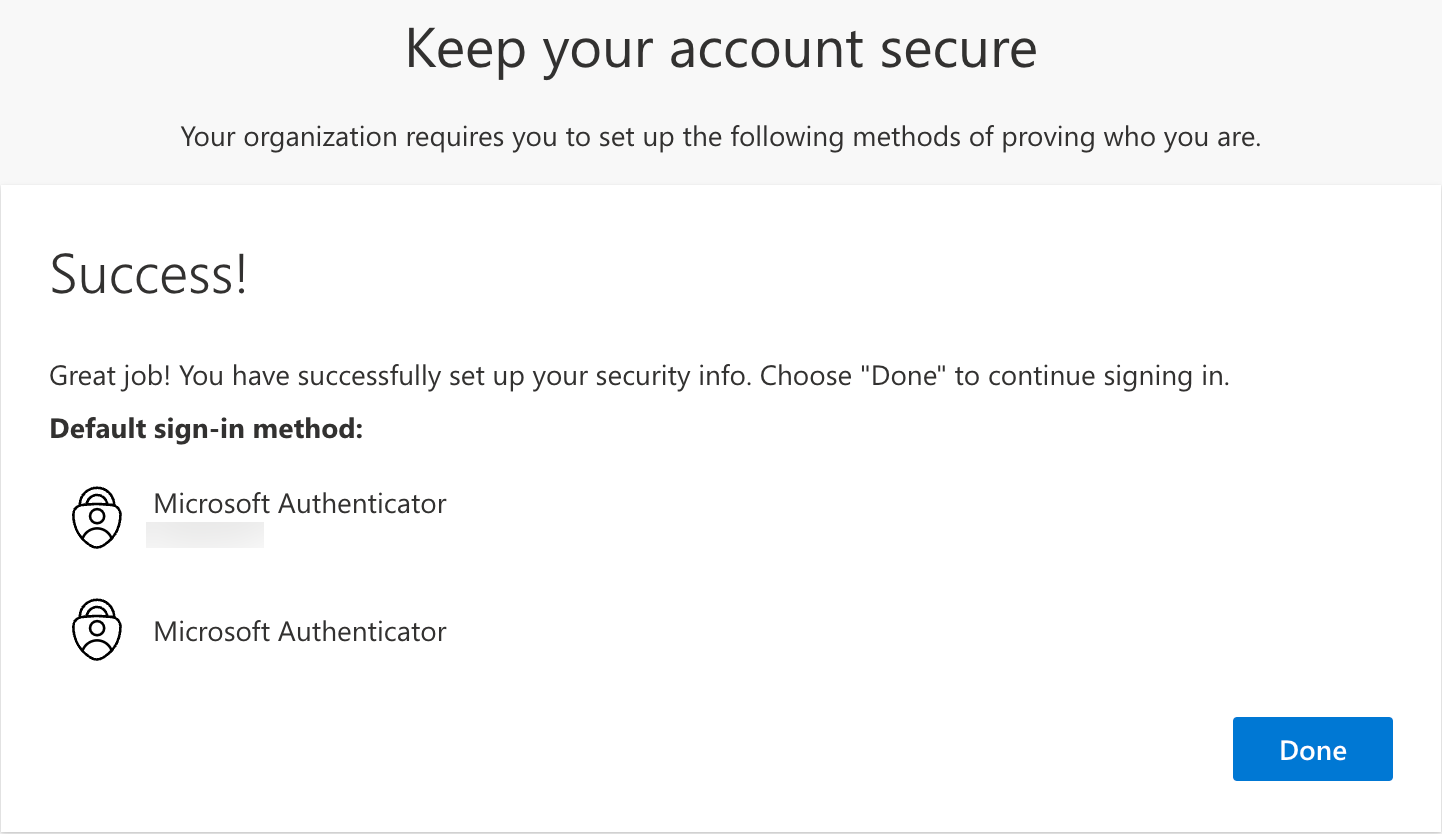
Click "Done" to complete the setup.
Delete